4 strategies for maintaining rhythm and timing in cross-country
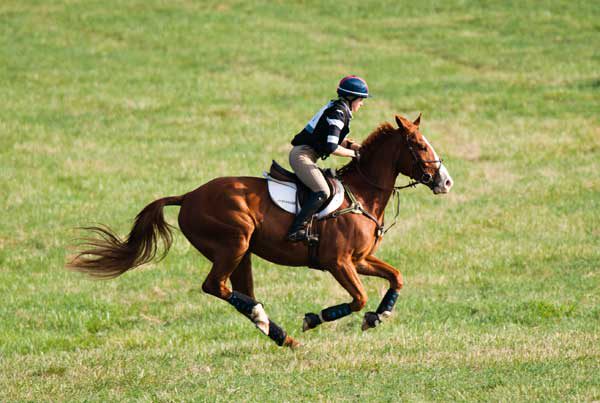
Your main goal when riding on a cross-country course is to be balanced with your horse, maintain a good rhythm, and jump at a speed that is suitable for him.
Of course, if your horse is ready, the ground quality is good, and you want to compete, you should aim to complete the course within the allowed time set for your level and avoid penalties from going too fast or too slow.
Below are four steps to help you develop a speed plan: when you walk the course, look for an open section or a part that is about two-thirds or three-quarters of the way through and has only one simple obstacle; a place where you can comfortably increase your speed.
1.
Measure the course.
The course designer uses a measuring wheel or GPS to measure the length of the course's line of travel, and that number becomes the basis for determining the optimal time.
At novice and training levels, most course designers measure based on the average horse and rider and consider a relatively open line that passes through the center of each obstacle.
However, each course designer measures a little differently.
To get the most accurate estimate of the length of the course you will actually ride, measure it yourself.
2.
Calculate your speed.
To obtain the average speed required, divide the distance by the optimal time.
This is where your measurement becomes important.
If the official length of a training level course is 2,250 meters and the optimal time is 5 minutes, the average speed should be 450 meters per minute.
But if the line you intend to ride is closer to 2,350 meters, you will need a speed of about 470 meters per minute.
3.
Plan your ride.
Now you need to determine how you will achieve this average speed.
When you walk the course, try to get a sense of how to ride it.
Where will you have to slow down?
Where can you make up for lost time?
The terrain's topography, ground quality, and the type and location of each jump will show you this.
Many horses slow down when entering a confined space, like among trees, and often a less experienced horse will slow down even more on a simple landing to lower its head and see the path ahead.
Pay attention to sections that reduce your speed for a longer period; such as winding paths in the forest or a downhill jump into the woods followed by two more jumps.
You may have to drop your speed to 380 meters per minute and make up the time elsewhere.
Look for sections with good ground and no jumps for about 30 seconds; a place where you can safely increase your speed to 475 or 500 meters per minute.
Most courses have a section that is open or has only one simple obstacle about two-thirds to three-quarters of the way through.
4.
Mark everything on the map.
Now walk the course once more; this time select markers that will help you gauge your speed while riding.
If the optimal time is 5 minutes, identify places where you want to reach by the end of each minute of riding.
Identify the markers — for example, a large tree on the left between obstacles 9 and 10 — and mark them on the course map.
When you walk the course for the third time, review these markers again.
During your ride, control your speed at these markers and make the necessary adjustments accordingly.
Good luck!
John Williams from Mendon, New York, is an eventing rider and a designer of FEI-approved three and four-star cross-country courses.
He holds an "R" course designer license and an "R" technical delegate license from the United States Equestrian Federation and has designed courses across the United States, including CCI and CCI* courses in Jersey Fresh.
He was also the cross-country course designer for the 2011 Pan American Games.
Williams, as a rider, was a member of the bronze medal Olympic team in Athens 2004 and the gold medal team at the 2002 World Equestrian Games.
This article was first published in the May 2014 issue of Practical Horseman.
Source: Practical Horseman – Training